
Welcome to the first post in my Spring Boot microservice blog series! In this post, I'll be walking through how to create a simple "Hello World" web service using Spring Boot.
To get started, I'll be using the handy Spring Initializr tool at https://start.spring.io to initialize my project.
Initializing the Spring Boot Project
The Spring Initializr provides a quick way to generate a Spring Boot project with baseline code and configurations. Here's what the web interface looks like:

I filled in some metadata like group name and artifact name. Then under dependencies, I selected:
- Spring Web - Module for web development, simplifying MVC and controller-based applications.
- Spring Security - Robust security framework for Java, managing authentication and authorization.
- Spring Boot Actuator - Production-ready features for monitoring and managing Spring Boot applications.
This generates a starter Spring Boot project with all the necessary dependencies configured. The project structure contains:
- src/main/java - Java code
- src/main/resources - Configs and static assets
- src/test - Test code
The pom.xml handles building and managing dependencies.

Now we have our foundation - let's start adding business logic!
Let me know if you would like me to expand or modify any part of this introduction. I can also add more details about the Spring Boot project structure and dependencies.
Creating a REST Controller
With our project initialized, it's time to create our first REST controller. I'll add a new Java class called 'HelloController' annotated with '@RestController' to handle web requests:
@RestController
public class HelloController {

}
The '@RestController' annotation indicates this is a controller that will handle RESTful APIs.
Next, I'll add a simple '/hello' endpoint:
@RequestMapping("/hello")
public String sayHello() {
    return "Hello World!";
}
This maps the '/hello' path to the 'sayHello()' method using the '@RequestMapping' annotation. When a request comes in to '/hello', it will invoke this method and return "Hello World!".

With the controller in place, we can run it and you will get a log like this:

You have to use the above selected password in process of authorisation when creating the request in Postman to test the application like this:

Postman is a great tool for quickly testing REST APIs during development.
I sent a GET request to 'http://localhost:8080/hello', and received the "Hello World!" response:

Postman makes it easy to test endpoints without needing to write actual client code.
Let me know if you would like me to expand on any part of this section! I can go into more detail on request mapping, Postman, etc.
Adding Basic Authentication
I can also secure my endpoint using Spring Security and basic authentication. First, I'll add the 'spring-boot-starter-security' dependency to my pom.xml(or it will automatically added when annotated with '@EnableWebSecurity' as follows).

Then in my application properties, I can specify a username and password:
spring.security.user.name=admin
spring.security.user.password=password

With this simple setup, any request to my endpoint will now prompt for basic auth credentials.

Spring Security makes it easy to add authentication without too much additional code.
Finally, use your favourite browser and try this:
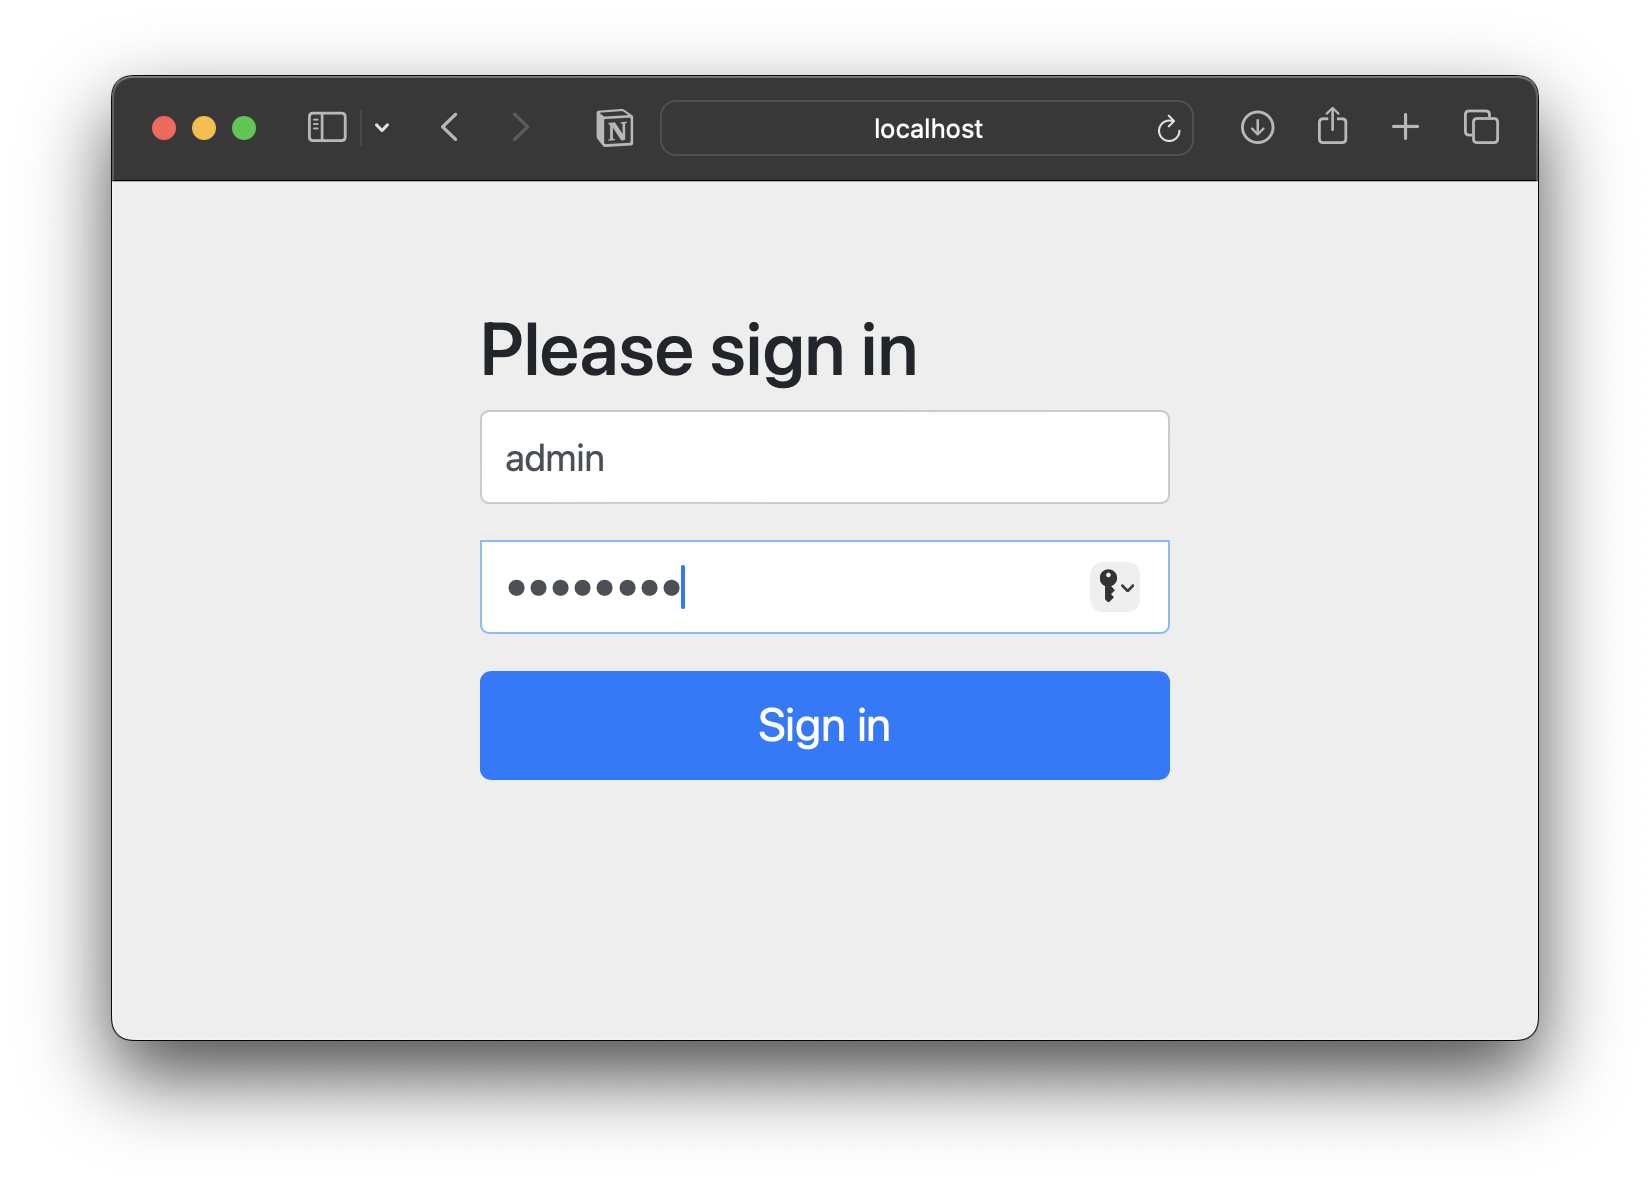

And that covers the key steps in creating my first microservice with Spring Boot! Let me know if you would like me to expand or modify any part of this continuation.